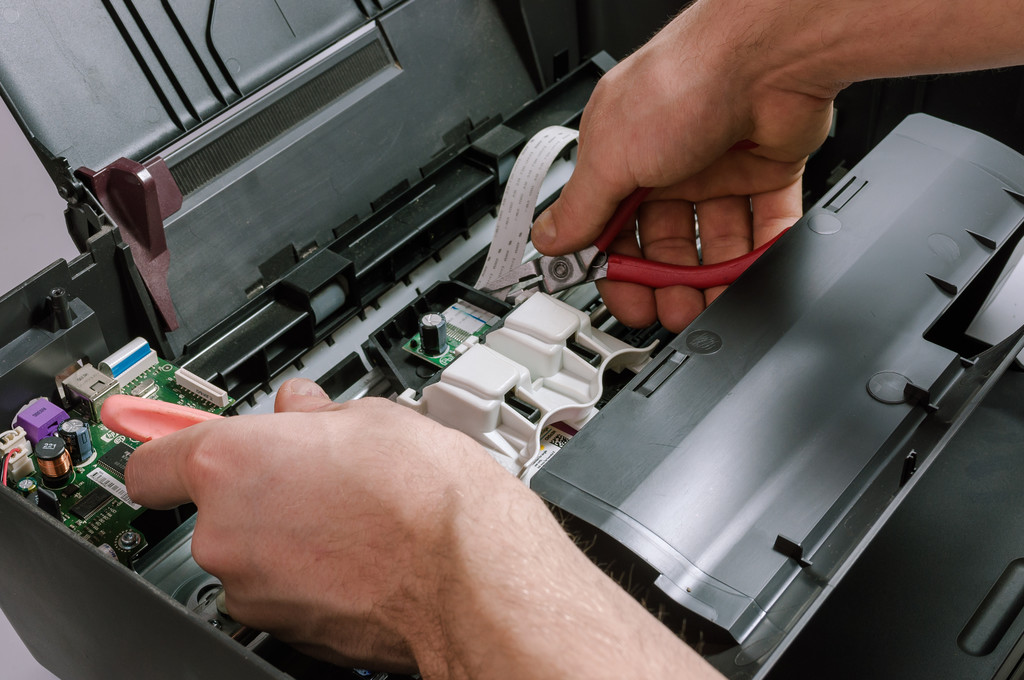
To achieve optimal print quality, it’s important to pay close attention to the settings and maintenance of your printer. One key step to improving the quality of your printouts is to ensure that the printer settings are selected to match the desired mode, paper size, and type. This can help avoid any inconsistencies or issues that might arise due to incorrect settings. In addition to the settings, the type of ink or toner you use can also have a significant impact on the quality of your prints. Using high-quality ink or toner cartridges can help produce sharper, clearer images and text. It’s worth investing in quality cartridges that are recommended by the printer manufacturer, as these are likely to perform better and last longer. Another important aspect of maintaining good print quality is keeping your printer clean. Dust and debris can accumulate inside the printer and on the paper feed rollers, causing issues with the quality of the prints. Regularly cleaning your printer, using a soft cloth or a cleaning kit recommended by the manufacturer, can help ensure that the printer is functioning optimally. Finally, proper alignment of the print head is crucial for achieving crisp, clear prints. The print head is responsible for depositing ink or toner onto the paper, and if it’s misaligned, the resulting prints can appear blurry or distorted. Most printers have a built-in alignment tool that you can use to adjust the print head alignment and ensure that it’s producing sharp, accurate prints. By implementing these practices, you can enhance the performance of your printer and produce high-quality prints that meet your expectations.
fixing a paper jam in the printer

A paper jam in a printer can be frustrating, but it’s a common problem that can usually be fixed with a few simple steps. When a paper jam occurs, the printer will often display an error message and stop printing. To fix the problem, the first step is to turn off the printer and unplug it from the power source. This will prevent any further damage to the printer and ensure your safety.
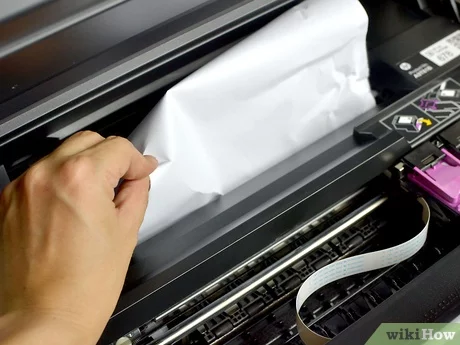
Next, open the printer cover or paper tray and remove any loose paper or debris that may be causing the jam. If you can see the jammed paper, gently pull it out in the direction of the paper path. Avoid tearing the paper or pulling it too hard, as this can cause further damage to the printer.
After removing the stuck paper, check the paper path and remove any remaining paper or debris that may be causing the jam. Once you have removed all the jammed paper and debris, close the printer cover or paper tray.
Finally, plug the printer back in and turn it on. Test it by printing a test page to ensure the issue has been resolved. By following these steps, you can easily fix a paper jam in your printer and get back to printing in no time.
